-
20. Putting your code in the right place: a brief introduction to prg banking
21. Giving your main character a sword
22. Adding more features to the pause menu
23. Adding a second map
24. Saving the Game
25. Adding objects that attract or repel the player
26. Adding an enemy that mimics player behavior
27. Adding a new sprite size
-
40. Understanding and tweaking the build tools
41. Dealing with limited ROM space
42. Resizing your rom
43. ROM Data Map
44. Expanding available graphics using CHR banking
45. Getting finer control over graphics with chr ram
46. Writing Functions in Assembly
47. Automatic builds with GH Actions
48. Switching to unrom 512 for advanced features
Adding a new collectible sprite
Adding new sprites involves changing our list of available sprites, then adding some logic to handle the new sprite. We will start simple with a new heart object, then expand on this to make it a new thing.
Adding the new sprite object
First, let’s create a new sprite. Open up source/c/sprites/sprite_definitions.c, and you should be able to see a list
of existing sprites, with one sprite per line. It looks something llke this:
const unsigned char spriteDefinitions[] = {
    SPRITE_TYPE_HEALTH, 0xea, SPRITE_SIZE_8PX_8PX | SPRITE_PALETTE_2, SPRITE_ANIMATION_NONE, SPRITE_MOVEMENT_NONE, 1, 0x00, 0x00,
// ... a bunch of additional sprite definitions here...
    SPRITE_TYPE_ENDGAME, 0xe8, SPRITE_SIZE_16PX_16PX | SPRITE_PALETTE_1, SPRITE_ANIMATION_NONE, SPRITE_MOVEMENT_NONE, 0x00, 0x00, 0x00

};
In particular, we are interested in that first one, which is the heart sprite we can pick up to increase our health. Let’s make a new one! Copy that line at the top, and paste it at the bottom as a new sprite. Be sure to add a comma on the line above your new one to avoid syntax errors. You will also need to remove the comma at the end.
A word of caution, if you add a new sprite in the middle of this list, all of the sprites on your map will change as a result. Our tools rely on the order of sprites in this file, so it’s best to always add new sprites at the end, even if the order is a little unclear.
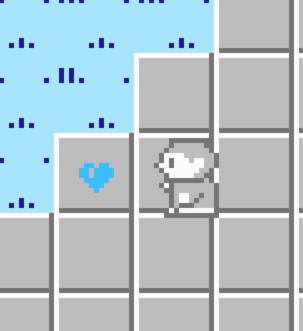
Next, let’s customize it a little. First, let’s change the color! The current sprite uses palette 2,
which is mostly red. This makes sense for a regular heart, but we want a super-heart, so we will use
the blue color palette. Try changing SPRITE_PALETTE_2 to SPRITE_PALETTE_1 - it’s blue now!
Let’s make sure we can see the blue sprite next. First, we need to update the sprites that Tiled
knows about. You can build the game with create-nes-game build to do this instantly. If you open
Tiled, you should see the new sprite available in the Sprites tab. If not, try using the
reload option in thefile menu.
Once you see it, we need to add the Sprite to your map. Due to how Tiled works, we need to be careful
about where we add it. There should be a section called Layers (usually on the right) that has a list
of Room Grid, Sprites and Overworld Tiles. You will need to select the Sprites layer
instead of the map layer, or the sprite will not appear. (This will also show warnings in the console as
you build your game.) If you then rebuild your game, you should see the
new sprite on the map. If you try to collect it after taking damage, you will get one heart.
Making the sprite give us extra health
Alright, we have a sprite that gives us health back now, but let’s customize it a little bit more. The engine has some logic to heal the player based on the number in the first byte reserved for miscellaneous data. (Byte 6) It is set to 1 in the first definition. Let’s up that to 2 instead!
Open source/c/sprites/sprite_definitions.c again, and find the line you added for the blue
heart. The 6th byte should be set to 1 - change this to a 2 and save the game. Now rebuild
the game, and collect your blue heart. You should heal two hearts! Let’s dig into why.
The resulting C code in sprite_definitions.c should look like this:
SPRITE_TYPE_HEALTH, 0xea, SPRITE_SIZE_8PX_8PX | SPRITE_PALETTE_1, SPRITE_ANIMATION_NONE, SPRITE_MOVEMENT_NONE, 2, 0x00, 0x00
Open up source/c/sprites/player.c and look for a function called handle_player_sprite_collision().
This method is called any time the engine determines that the player and a sprite are in
the same space. This function handles the sprite’s response, as well as the player’s.
For example, if the sprite is an enemy, it pushes the player back and takes away some
health. In our case though, it adds some health back. There is a switch statement in here
that goes through sprite types - we are concerned with SPRITE_TYPE_HEALTH.
Below the type, there is some code that changes the player health, and also removes the sprite from the screen. You can tweak this code to heal the player more, or never make the sprite go away if you want. We’ll expand on this to make our own new type of collectible sprite!
Making the sprite change our max health
Okay, we made a heart that heals more than 1 damage, but let’s take it a little bit further. Why don’t we make this sprite increase the player’s max health, so that they can take one more heart of damage!
Based on seeing the logic above, we probably want to create a new sprite type - we
could use the SPRITE_TYPE_HEALTH type, but this would make the code kind of confusing.
Open up source/c/sprites/sprite_definitions.h and look for a bunch of definitions starting
with SPRITE_TYPE. There should be something like this:
#define SPRITE_TYPE_NOTHING 0x00
#define SPRITE_TYPE_KEY 0x01
#define SPRITE_TYPE_HEALTH 0x02
#define SPRITE_TYPE_REGULAR_ENEMY 0x03
#define SPRITE_TYPE_INVULNERABLE_ENEMY 0x04
#define SPRITE_TYPE_DOOR 0x05
#define SPRITE_TYPE_LOCKED_DOOR 0x06
#define SPRITE_TYPE_ENDGAME 0x07
These simply map pretty names to values that the code knows about. Add a new one for
this sprite called SPRITE_TYPE_LIFE_UP, and give it a value not taken by another
SPRITE_TYPE variable - in this example, you could use 0x10.
Now, we need to have our sprite definition use that variable. Here it is from before:
SPRITE_TYPE_HEALTH, 0xea, SPRITE_SIZE_8PX_8PX | SPRITE_PALETTE_1, SPRITE_ANIMATION_NONE, SPRITE_MOVEMENT_NONE, 2, 0x00, 0x00
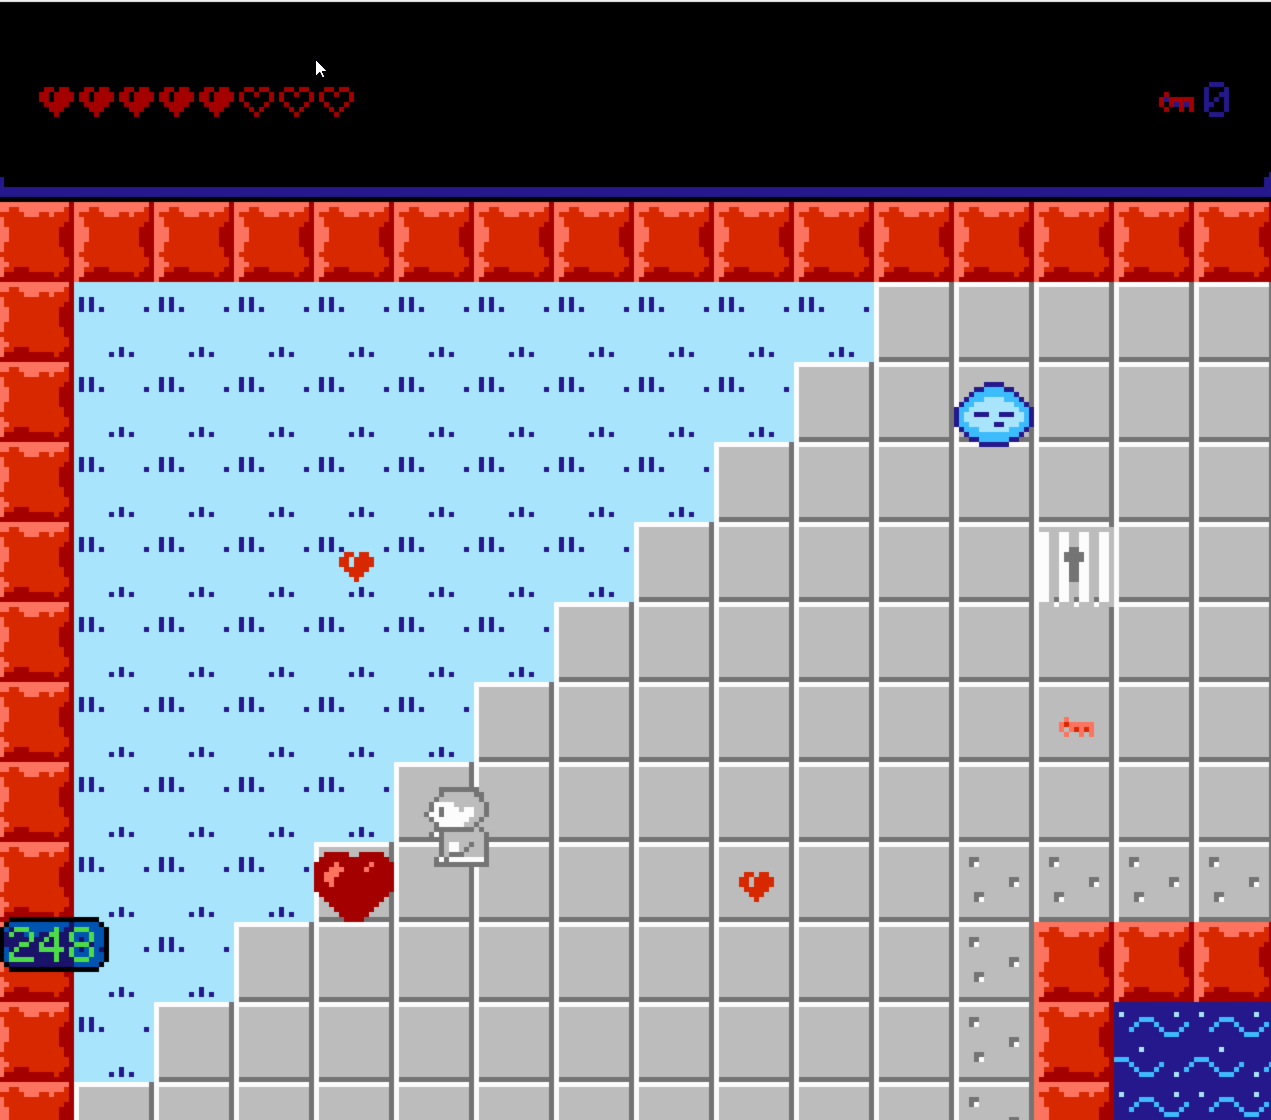
We want to change SPRITE_TYPE_HEALTH to SPRITE_TYPE_LIFE_UP. While we are at it, let’s
make the sprite a little bit more unique! If we look at nexxt for our sprites, there is
a big heart sprite at 0xec. If we change the sprite id (second byte) to this, we can
use that big heart sprite. However, our old sprite was 8x8 pixels in size, and this new
one is 16x16. We also need to update the size of the sprite, by changing
SPRITE_SIZE_8PX_8PX to SPRITE_SIZE_16px_16px. Lastly, let’s make the color red again,
using SPRITE_PALETTE_2. The end result should look like this:
SPRITE_TYPE_LIFE_UP, 0xec, SPRITE_SIZE_16PX_16PX | SPRITE_PALETTE_2, SPRITE_ANIMATION_NONE, SPRITE_MOVEMENT_NONE, 2, 0x00, 0x00
If you rebuild the game at this step, you should see your new heart sprite in use! Tiled should also show the new image after the game is built. You may notice that nothing happens when you try to collect the sprite though - that’s our next step!
In the last section, we looked at the logic in source/c/sprites/player.c, which
handles sprite collision. We need to delve back into that code to make this logic
work for our new case. Open that file back up, and find the section that handles
SPRITE_TYPE_HEALTH. We want to add some new logic for SPRITE_TYPE_LIFE_UP.
Here’s what the code looks like now:
switch (currentMapSpriteData[(currentMapSpriteIndex) + MAP_SPRITE_DATA_POS_TYPE]) {
    case SPRITE_TYPE_HEALTH:
        // ... implementation of sprite health stuff here...
        break;
    case SPRITE_TYPE_KEY:
Let’s add a new case for SPRITE_TYPE_LIFE_UP between SPRITE_TYPE_HEALTH and
SPRITE_TYPE_KEY. Player health is controlled by a global variable called
playerMaxHealth, so we will need to change that. There is also a line of code
that hides the sprite in the SPRITE_TYPE_HEALTH method that we can reuse here.
The end result is something like this:
switch (currentMapSpriteData[(currentMapSpriteIndex) + MAP_SPRITE_DATA_POS_TYPE]) {
    case SPRITE_TYPE_HEALTH:
        // ... implementation of sprite health stuff here...
        break;
    case SPRITE_TYPE_LIFE_UP:
        playerMaxHealth += 1;
        // Hide the sprite now that it has been taken.
        currentMapSpriteData[(currentMapSpriteIndex) + MAP_SPRITE_DATA_POS_TYPE] = SPRITE_TYPE_OFFSCREEN;
        break;
    case SPRITE_TYPE_KEY:
If you rebuild the game and collect your new sprite, you should see the player’s max health increase, and be able to collect hearts to fill it up!