-
20. Putting your code in the right place: a brief introduction to prg banking
21. Giving your main character a sword
22. Adding more features to the pause menu
23. Adding a second map
24. Saving the Game
25. Adding objects that attract or repel the player
26. Adding an enemy that mimics player behavior
27. Adding a new sprite size
-
40. Understanding and tweaking the build tools
41. Dealing with limited ROM space
42. Resizing your rom
43. ROM Data Map
44. Expanding available graphics using CHR banking
45. Getting finer control over graphics with chr ram
46. Writing Functions in Assembly
47. Automatic builds with GH Actions
48. Switching to unrom 512 for advanced features
Adding New Map Tiles
Adding new map tiles is fairly easy - all you will need is a specialized editor. I suggest Nexxt, and that will be used for the rest of the tutorial.
Open the program up, and go to the Patterns menu, then select Open chr, then open
graphics/tiles.chr. You should now see the tiles for your game, but the colors may
look a little off. Next, select Open Palettes from the Palettes menu, then open
graphics/palettes/main_bg.pal. Now things should look more familiar.
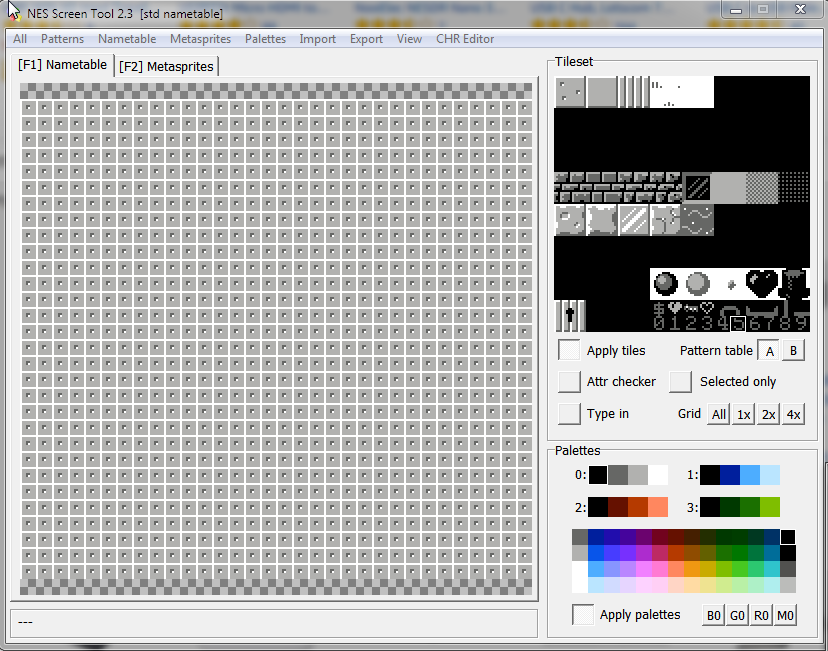
The program is laid out with a big [F1] Nametable tab on the left, as well as a
Tileset with some settings on the top-right, and a Palettes section on the bottom.
You will want to ignore the Nametable panel, and instead focus on the two right panels.
We will start with the Palettes section on the bottom right. The NES has limitations around
how many colors can be displayed in an area at once. The colors are organized into four
Palettes - which are groupings of colors. Each palette is limited to 4 colors, and
the first color in the palette must be shared between all 4 palettes. Any tile you
create will use one of these 4 Palettes.
Remember to save your palettes if you change them into the .pal file you opened earlier!
They are not saved with your tiles!
Next, we will move onto the tiles themselves. Tiles are 16x16 pixel objects that make
up your game world. They are the top-right panel in NESST. The tiles are split into
two main parts - the top 3 rows are tiles that can be walked on. The next three rows are
tiles that the player & enemies cannot walk on. This can be adjusted by changing constants
in source/c/sprites/collision.h.
The easiest way to edit tiles is to edit them in NEXXT itself. If you double-click on
an 8x8 piece of a tile, NEXXT will open a zoomed-in view of that tile, where you can
edit it. Click to place a pixel, and choose your color by clicking one of the 4 colors
in the lower Palettes section. Note that the selected palette number does not matter;
you can apply any of the 4 palettes to any tile when designing maps. Try to make tiles
that work with all 4 palettes whenever possible!
Once you have added new tiles, make sure to save them by going to File, finding the
Patterns submenu, and
hitting Save 4K (Current Table). Note that this will only save your map
tiles - it will not save your palette or your sprites. If you changed palette colors,
don’t forget to save those from the File menu, under subpalettes -> save current set.
Exporting for Tiled
After you make changes to your palettes or tiles, you may notice that they do not show up in
Tiled automatically. Tiled unfortunately has no idea what our tiles are, so it needs regular
images to display in its ui.
You can make them show up by rebuilding your game.
This works off a program called chr2img, which is installed with
the nes-starter-kit tools
After you do this, you should be able to see your new tiles in Tiled!
Using another editor
Not loving the limitations of nesst? Wish you could use gimp/photoshop/whatever? You can!
Go to the Export submenu under File, then hit Tileset as bmp file and save this somewhere. This saves
a bitmap file using the 4 colors of your currently selected palette.
You can then edit this file with whatever program you like - just make sure you only use 4 colors. (The tool will just strip off additional colors) The colors you use in this bitmap do not affect your palette in the tool.
When you are done with your changes, save them back into a bitmap, then open nesst again.
Go to the Import menu under File, then hit bmp file as tileset and find the file you edited.
Assuming all went well and you stuck to 4 colors, you will see your changes in the tool.
That’s it; just save as usual and move on!